
Vanity In Master Bedroom
Learn how we added a wall to separate our master bathroom from the bedroom during our master bedroom remodel. This project helped to create a separation between the two rooms and will also provide a way to block out light.

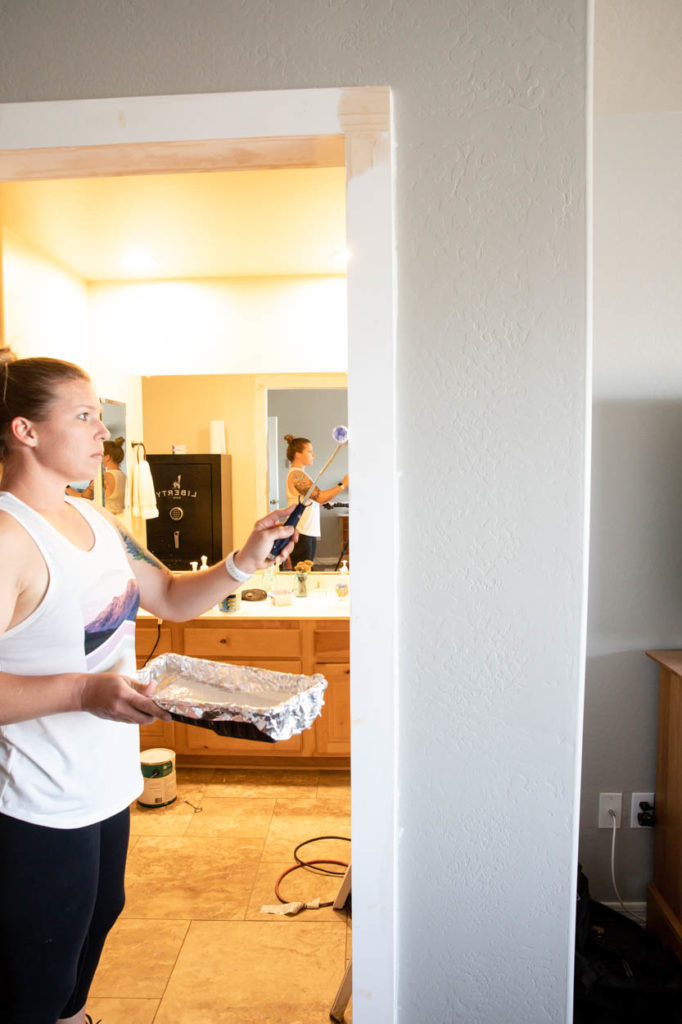
Last summer, we replaced the flooring in our master bedroom. When we did that, we decided it would also be the perfect time to finally create a little separation between our bedroom and bathroom. As you can see from the "before" photo, the two rooms were basically one and when the lights go on in there, whoever is still in bed ends up blinded.
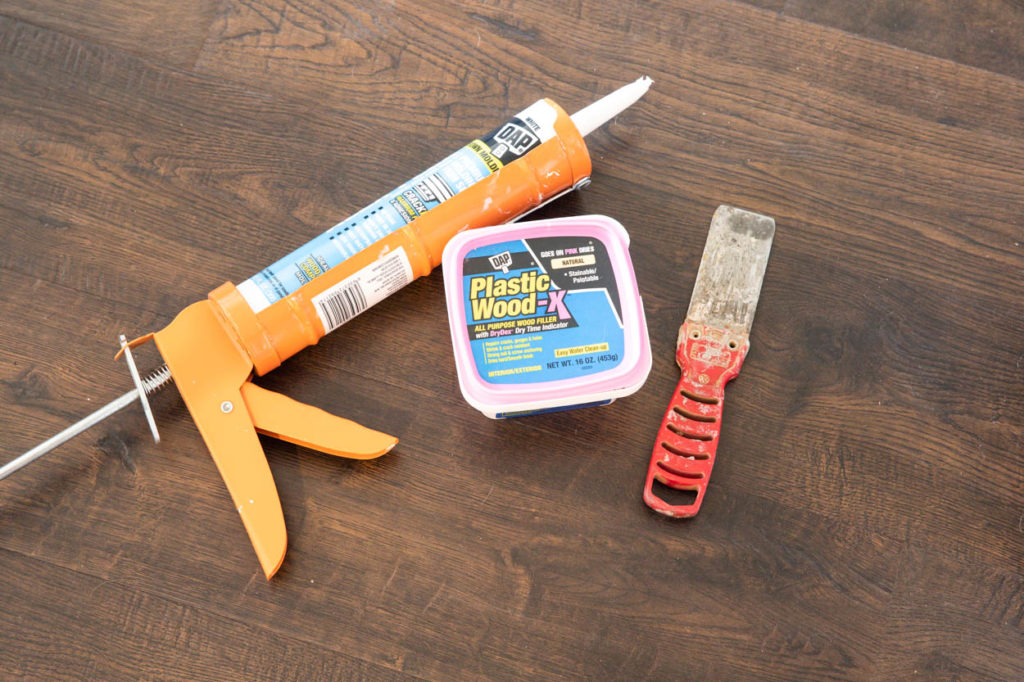
I'll be showing you a few photos of the whole process and also how I trimmed out the doorway and then finished it off using products from my friends at DAP Products. I'm going to be using DAP Plastic Wood-X wood filler, Alex Flex Caulk for trim and crown molding, and Alex Flex Spackle
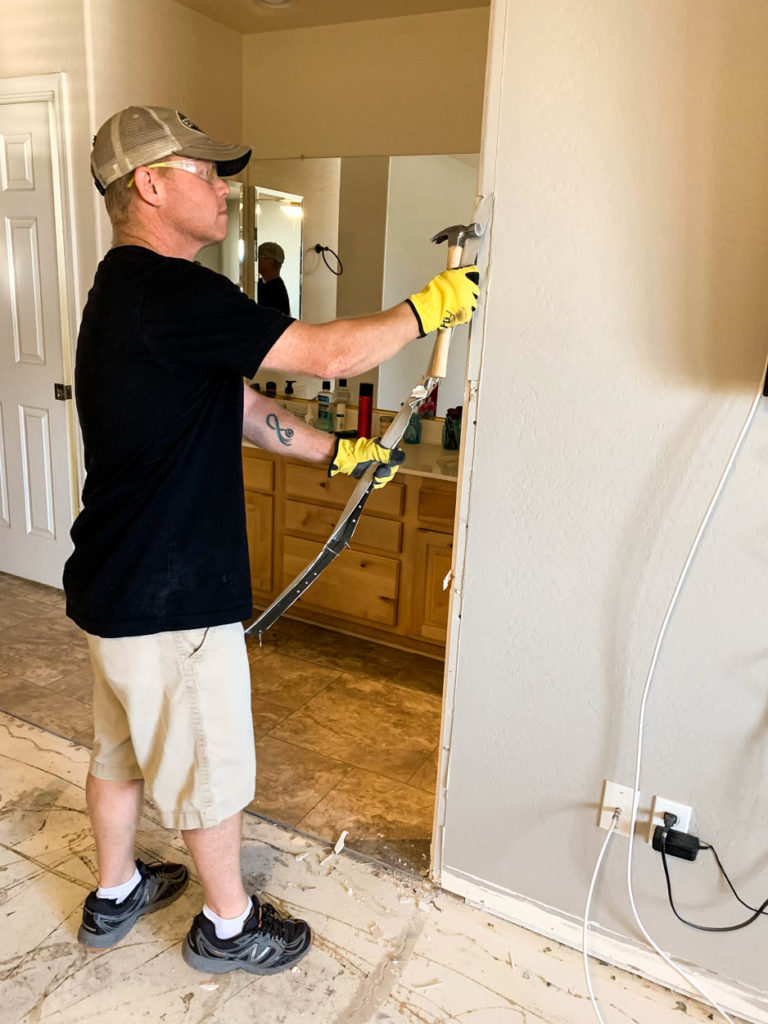
The first step was demo. There really wasn't much to do other than pulling up the corner beading on this one corner of the wall. My husband LOVES demo day, so I let him have at it.
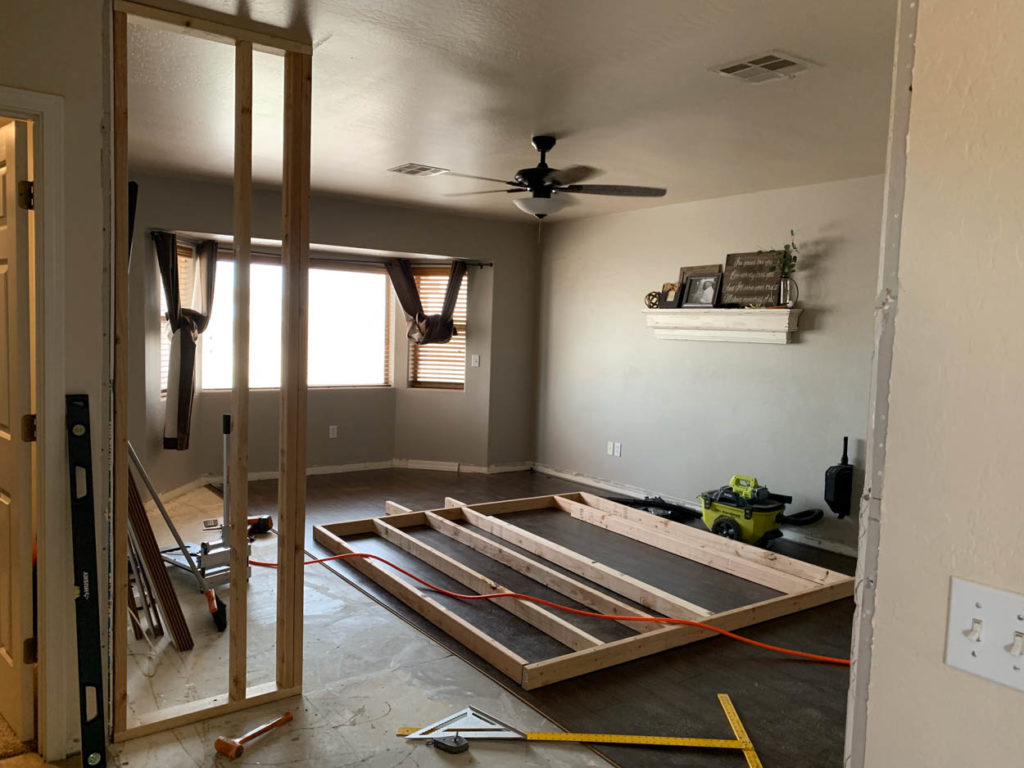
The opening between the walls to the bathroom didn't line up, so in order to create a wall/doorway, we had to bring one side forward to line up with the existing wall in the bathroom.
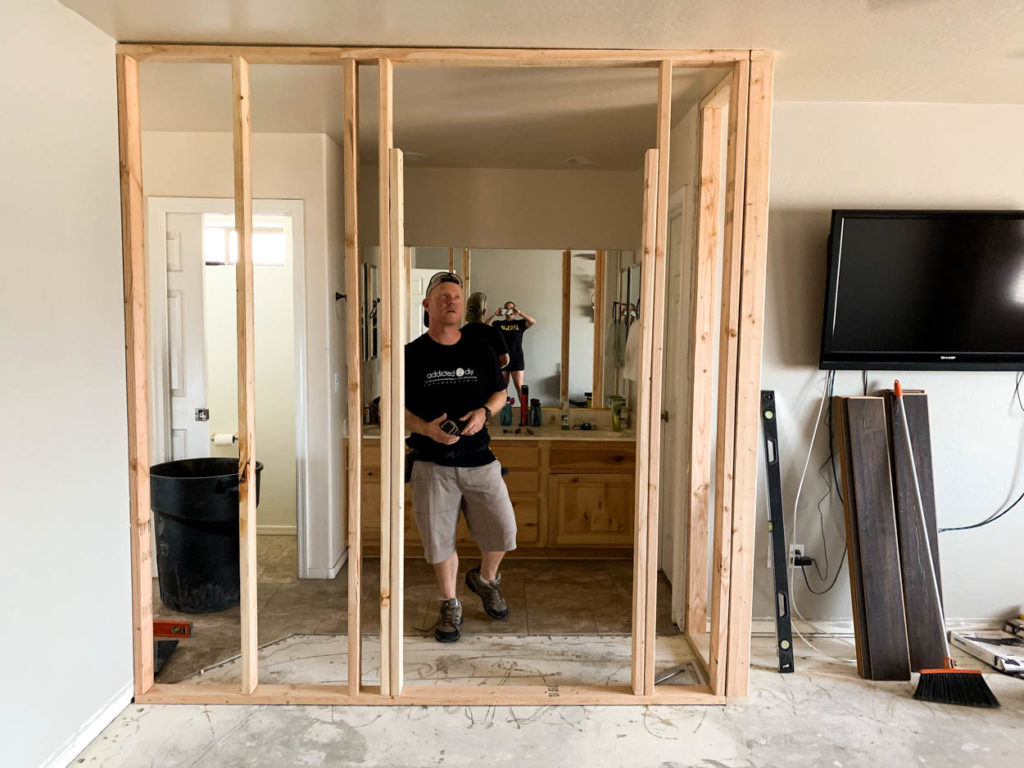
We framed up the walls and doorway and put them into place. It's during times like this that you really start to see the flaws in the original construction of a home. For example, the huge gap in the ceiling to the left in the photo.
When we framed this wall, we decided not to put a header inside the wall for the barn door. I liked the idea and look of an exposed header, so we just framed in the doorway as normal. If building something like this and you'd like the header inside the wall, it's as easy as adding it in between all of the studs.
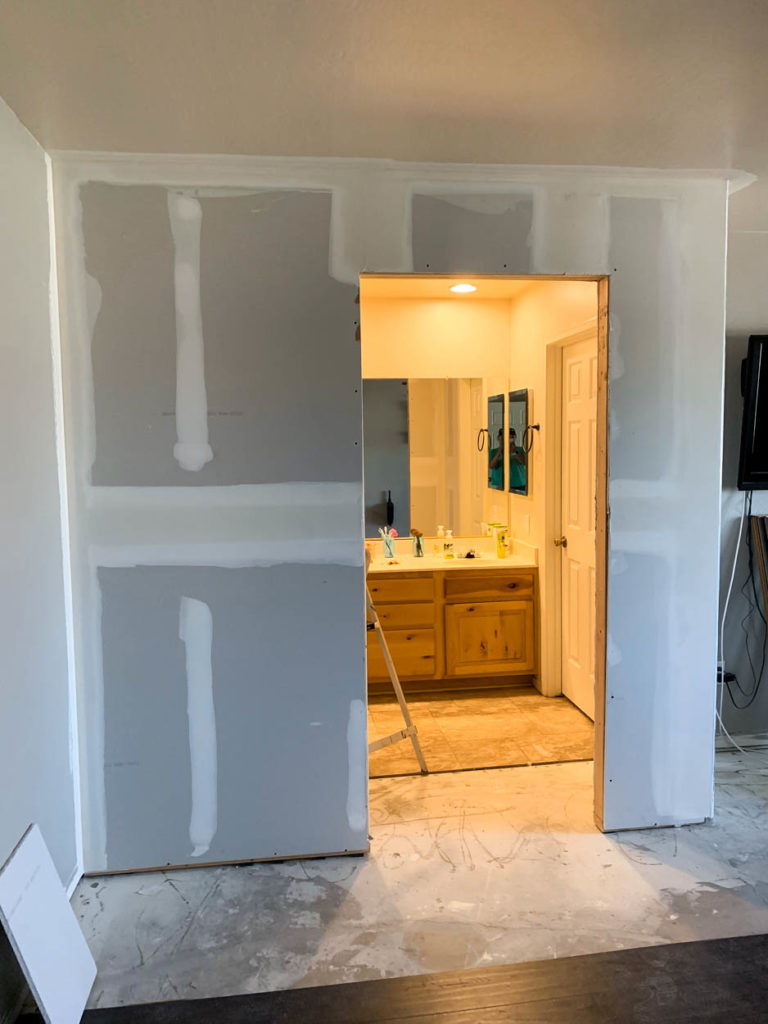
My husband and I are not afraid to admit that we don't do drywall. We can get by if we really have to, but it's not something that we do well and we haven't taken the time to learn. Instead, we hired someone to come do it and he definitely got it done way faster than we could have.
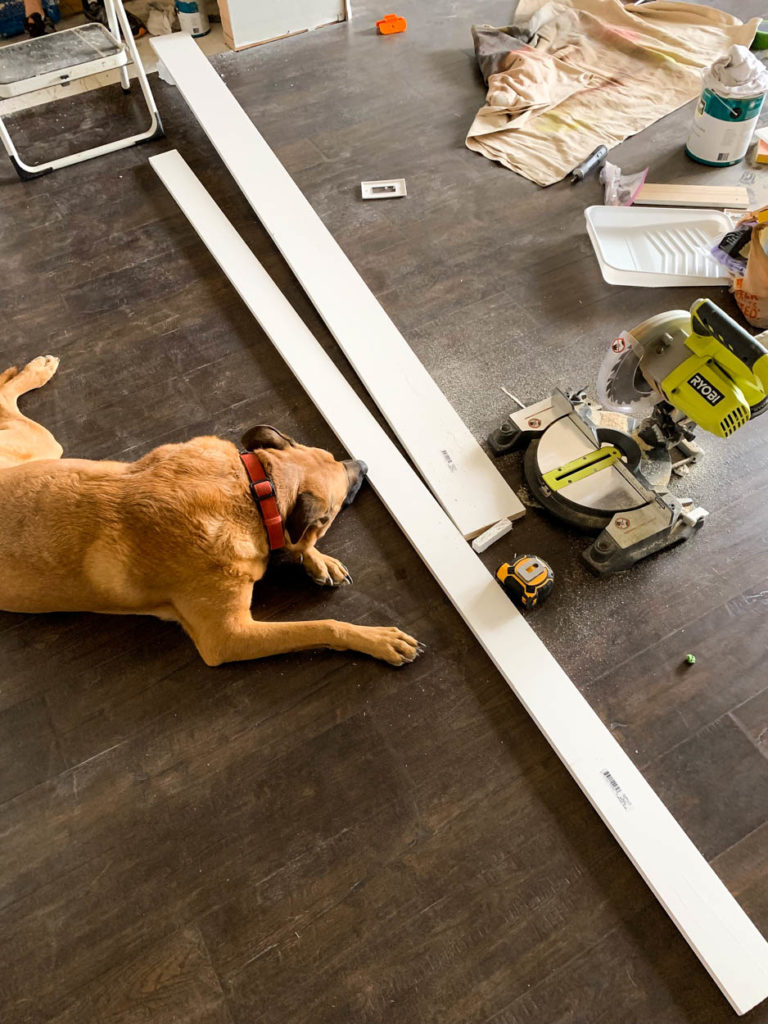
Once the texture on the drywall had dried, I painted the walls to match the bedroom and bathroom, then installed the trim. I used pre-primed boards from Home Depot and nailed them in place with 2″ brad nails. Dakota also felt the need to assist with this project. She loves to supervise.
We thankfully had some spare tiles left over from when we first did the flooring in the house and my husband brought the bathroom tile up to the new wall, then I finished off installing the trim.
To finish off the trim, I needed to fill all of the seams and nail holes. I used DAP Plastic Wood-X for this. And then the project sat. Unfinished. For 7 months. I got caught up with other projects and figured I'd get to it one day. Nothing like being forced to stay home for that "one day" to finally happen!
I started by scraping away some of the larger bits of the dry wood filler. Just to make sanding go a little quicker. I sanded everything down with my orbital sander hooked to my shop vacuum to cut down on dust.
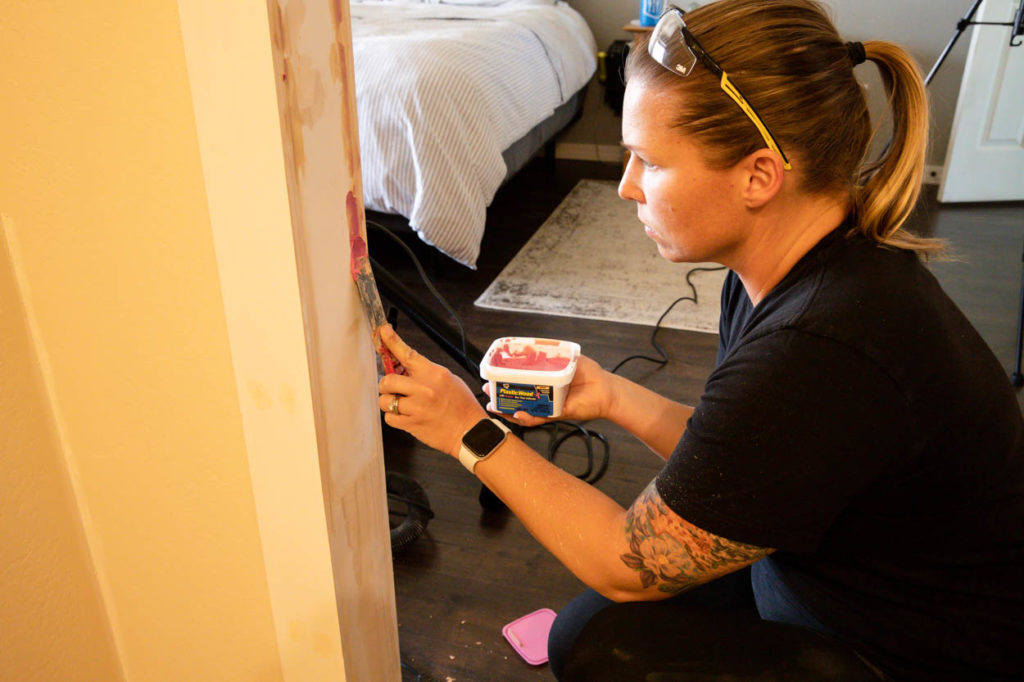
Once I finished sanding, I went back over the seams with DAP Plastic Wood-X wood filler again. The trick with wood filler is that you want to use multiple coats if you are filling large areas. This way it builds up like a foundation and then your final sanding will be perfectly smooth. What makes Plastic Wood-X wood filler so great is that you can tell when it's dry and ready to be sanded between coats. It goes on pink and dries to a natural color.
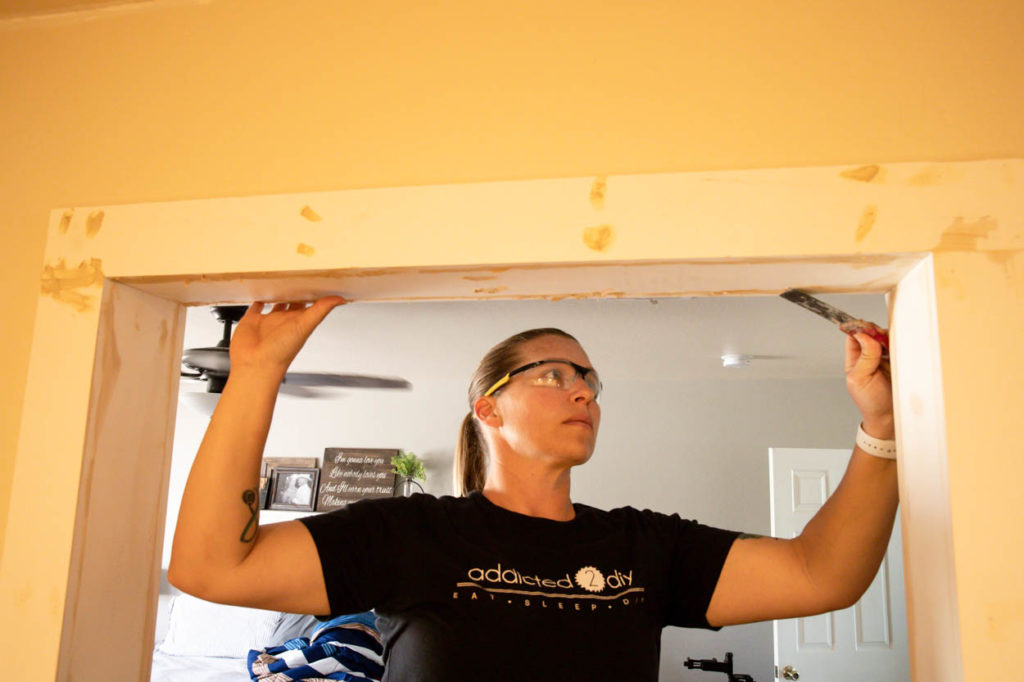
The end grain of the trim was a bit rough at the top, so I grabbed a tub of Alex Flex spackle and a putty knife. I applied the spackle to the end of the board to fill in the grain, let it dry, then sanded it smooth.
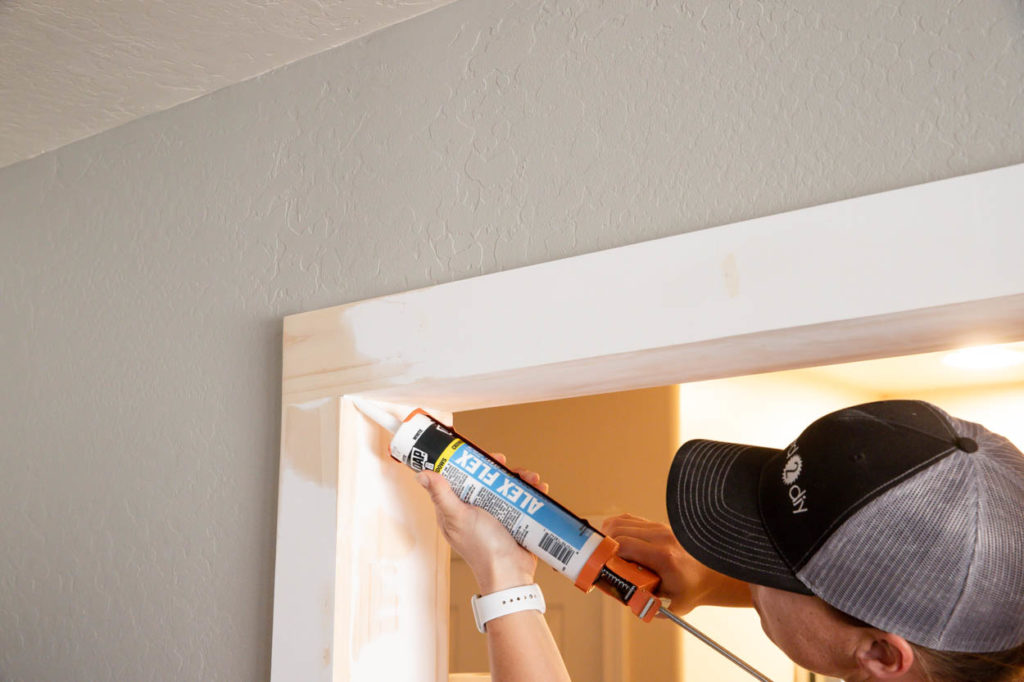
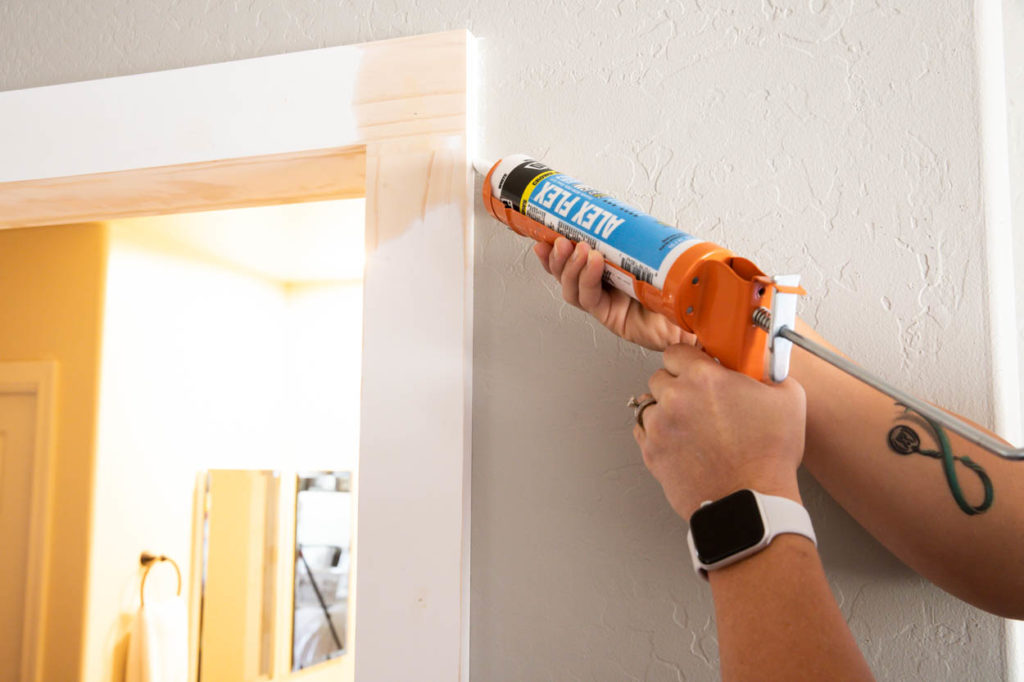
Once everything was filled, sanded, and smoothed out, it was time to caulk the trim. I used Alex Flex caulk for crown molding and filled in the seams at the inside corners as well as the outside of the trim where it met the wall.
A quick tip for smoothing out the caulk bead is to have a damp paper towel and an old gift card (or hotel key card) handy. I smooth out the bead with the card, then gently wipe over the area with the damp paper towel. It gives you a smooth, flawless finish every time!
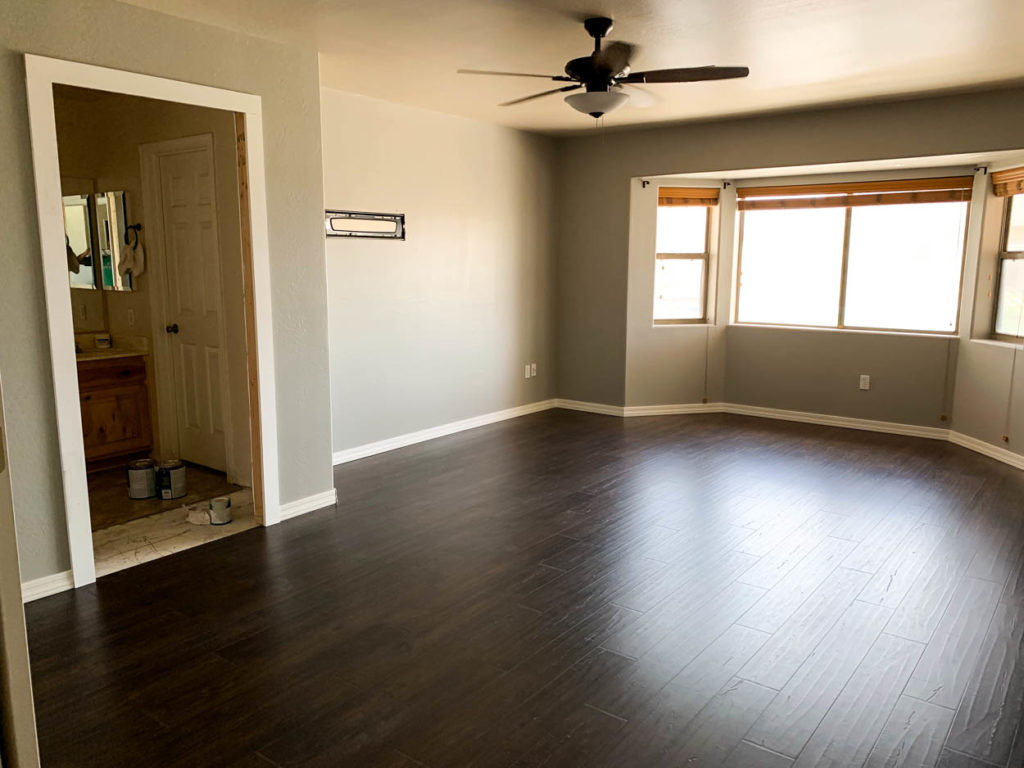
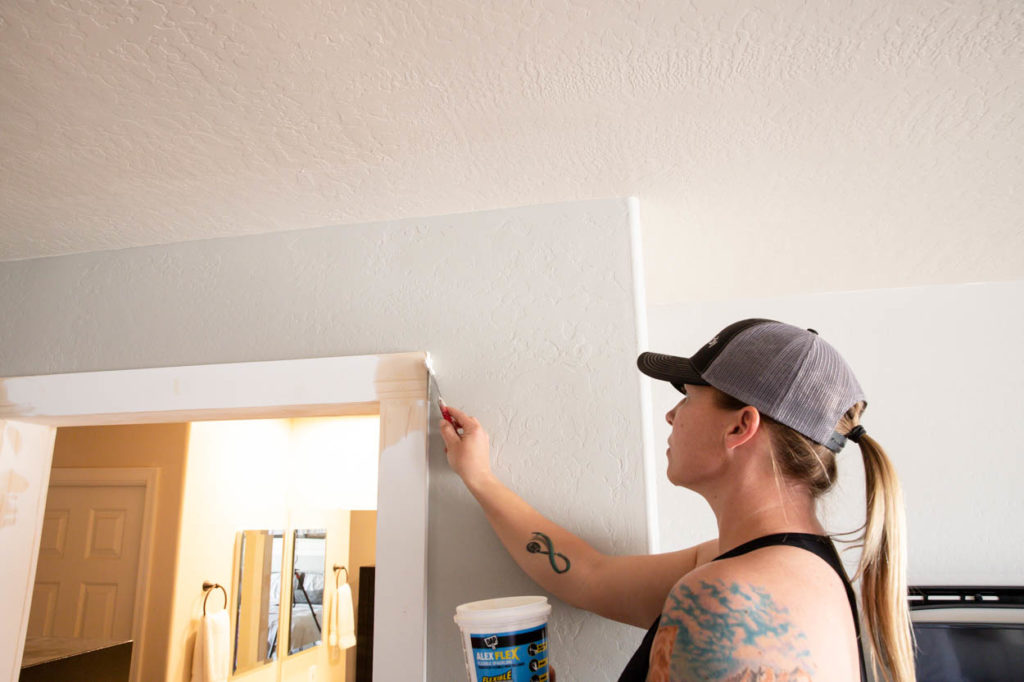
Once everything had dried, I rolled on a few coats of paint and edged it in, then the project was done!
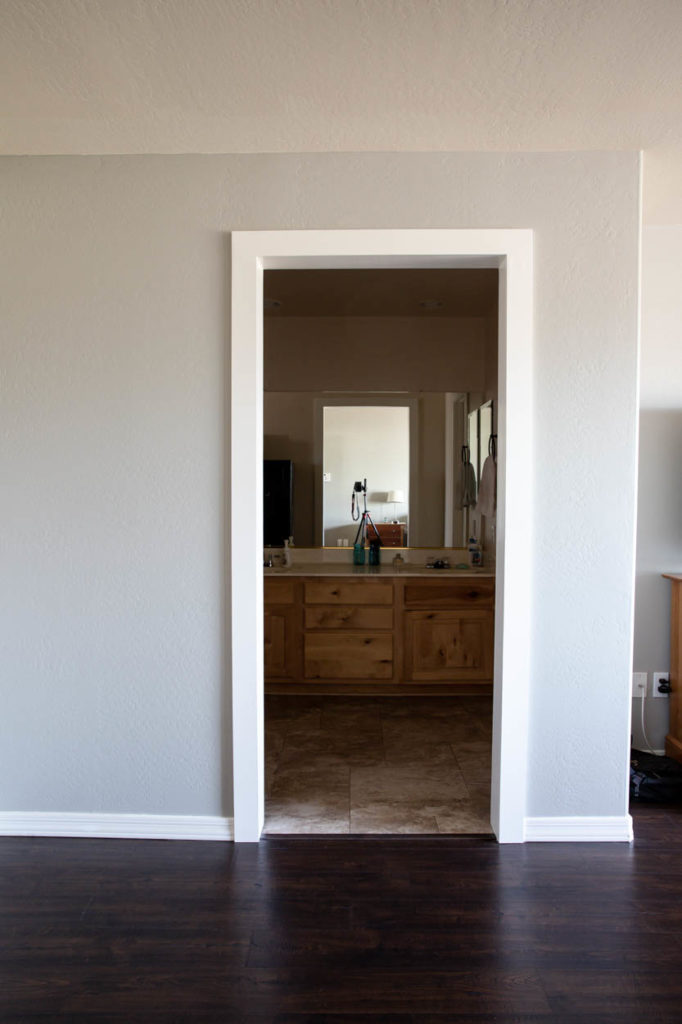
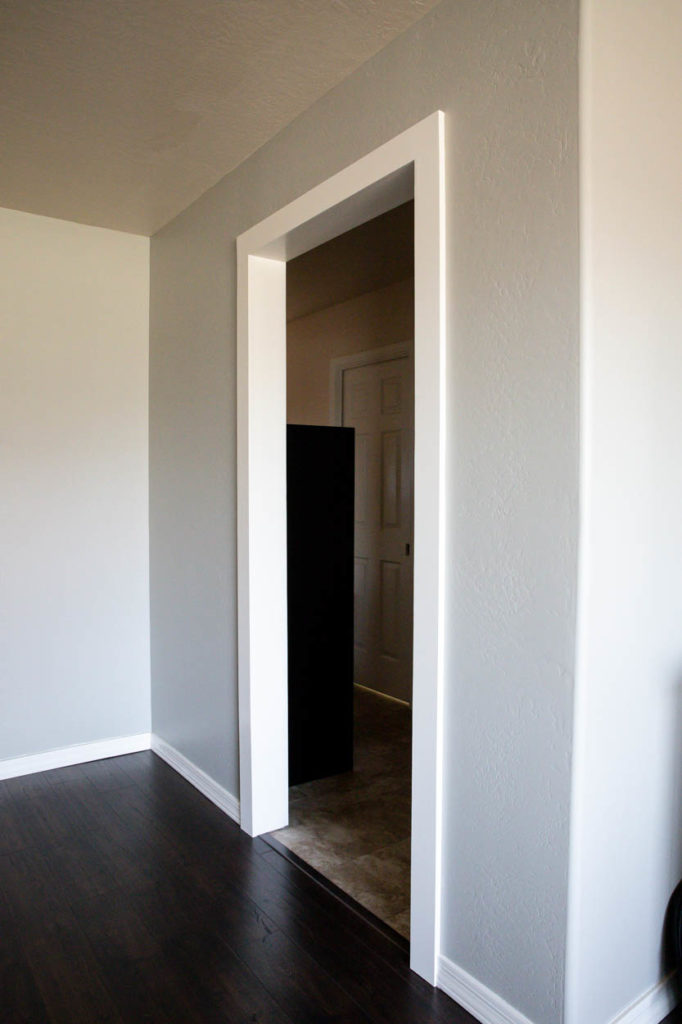
It's so amazing to look at what this area used to look like compared to how it looks now. We were seriously so worried about walling this off and it looking weird or feeling imposing on our bedroom space, but it actually feels like it was always meant to be this way.
Next up, I'll be building the barn door and I'll be sharing that tutorial with you on how to build and install it! Stay tuned!
Special thanks to my friends at DAP Products for partnering with me on this project. I love how easy their products are to use and there's pretty much something for every task. To learn more about all of their products, you can check out their full website for information and uses.
DISCLSOURE: I was provided product and/or compensation for this post. All opinions and ideas are 100% my own.
Source: https://addicted2diy.com/master-bedroom-remodel-adding-a-wall-to-the-bathroom/

0 komentar:
Posting Komentar